

Lucky for me our garage fell down last spring.
It was a plain but lovely double brick structure, almost a hundred years old, and we would never have taken it down. We didn’t use it for the car but just to store junk and really its only purpose in life was to hold up one end of my hammock. Because it stood in the sunniest spot in our back yard, we weren’t really sorry when one of the brick walls tumbled down onto the neighbours’ driveway. The debris was carted away, and we cleaned the mortar off the old bricks and used them to build a small garden shed. The shed sits at the back of the concrete slab that had been the garage floor and leaves the rest of the slab available for gardening. Of course concrete is not an ideal growing medium, so planter boxes were the obvious solution.
Click on any photo to enlarge


I want the pleasure of growing fresh organic vegetables without being tied down watering my garden all summer. Vegetables, especially tomatoes, require a great deal of water and the moisture content must be sustained in the soil – no drying out. But maintaining a regular watering schedule can put a crimp in travel plans. That’s what led me to building boxes that incorporate an irrigation system.
Many people have devised great systems of constructing and irrigating planters, and my son found these two websites which were especially helpful: The Verge Permaculture Guide to Wicking Beds and The Family Handyman – Build Your Own Planter. I combined advice from each and tailored a design to suit our conditions.
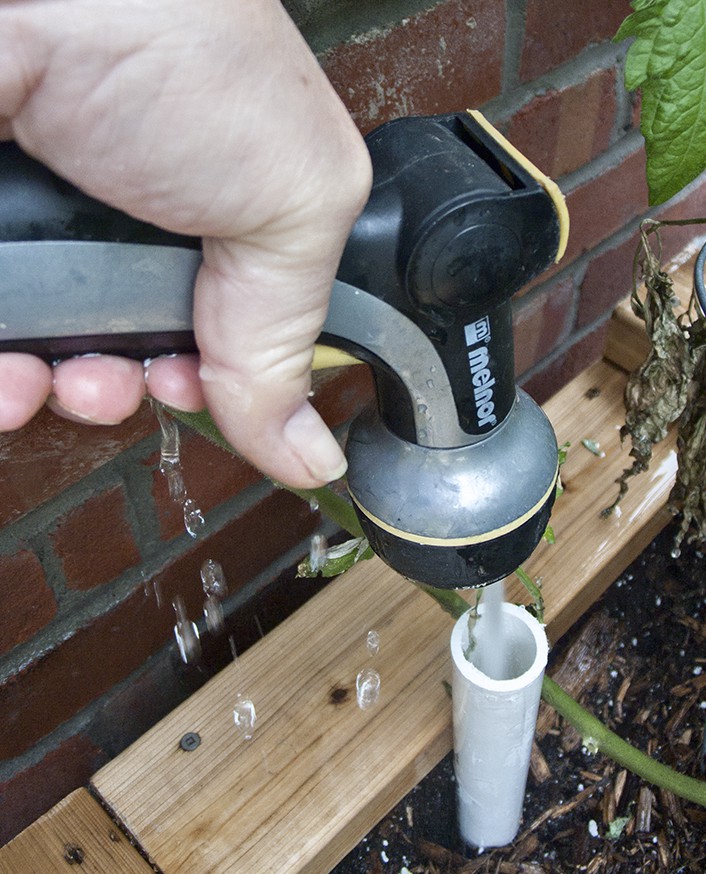
Basically what I built with my husband’s help was two simple four-sided cedar boxes, just the sides and no bottom since it rests on concrete. They are lined with sturdy plastic pond liner because a water reservoir is at the bottom of the box. The reservoir consists of weeping tile surrounded by pea gravel. There must be access to fill it, so I put a plastic pipe at one end, and it must have drainage, so I put in an overflow tube near the bottom of the other end. Landscape fabric separates the soil on top from the water reservoir below.
Click on any photo to enlarge


All this construction info is available online, but I would add to it. That outlet for the overflow tube must be sealed or the reservoir will not be waterproof and will leak. I cut as small a hole 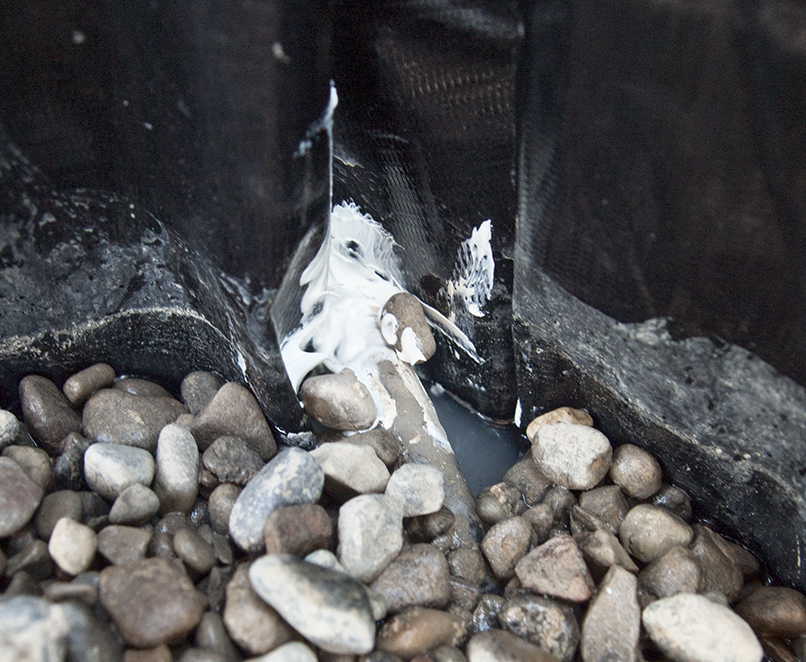 as possible into the pond liner for the overflow tube to pass through it, and then sealed the tube and liner joint with bathtub caulking. About half a tube of caulking, just to be sure there were no leaks. Can you tell that I am speaking from experience? That’s how I did the second box.
The planter boxes are filled with potting mix. Many recipes exist, and the choice of ingredients depends on the needs of the plants you are growing and personal preference. Like any potting mix it should contain some combination of peat moss, coconut coir, perlite, compost, and sand.
The tomatoes I grow are not hybrids, but plants that either friends or I have grown before and liked. I had saved seeds from the previous year and I started them in early April on the kitchen counter. Both the planter boxes and the tomato plants were ready in late May.
Click on any photo to enlarge


It was easy to plant the boxes, and the radishes and tomatoes grew like crazy. Whenever the soil started to feel a bit dry when I stuck my finger down into it, I took up the hose and refilled the reservoir, which took about 5 minutes for each box. We came and went all summer; the planter boxes just kept producing tomatoes and radishes.
Click on any photo to enlarge


 The initial water fill up was in late May. After that I watered again mid-June, July 15, August 1, August 14, August 25 (a top up not because it needed it, but because we were leaving town), and that’s it. That was the entire watering schedule and it produced a prolific crop first of radishes, then tomatoes. The last of the harvest ripened in the fall sunshine on the kitchen counter, right where they had begun life.
Meanwhile, the new garden shed now holds up one end of my hammock.
– Schuster Gindin
Photos by Schuster Gindin
This article can be found in STAYING IN in the section What We’re Making.
Comments:
How ingeniously practical!Your tomatoes look luscious…the tomatoes boxes together with that shed and great doors looks very Mediterranean.
Carol Phillips, Barrie
The planter boxes are beautiful and stand beside the reclaimed shed with its’ amazing door. WoW would love to see it in person.
Cheryl Kryzaniwsky, Port Elgin ON
The doors are very old and came originally from Egypt. – SG
At long last Harrowsmith comes to the city. You and your husband look to be more industrious than I. It all looks quite fabulous.
Laurell Ritchie, Toronto
Jealous of that shed!
Anthony Schein, Toronto
Jealous of your planters! Those tomatoes look amazing and I always forget to start my plants in April!
Matthew J.W. Higginson, Toronto
